

This is our second part of tecla-e and Windows. We mentioned before tecla-e can work with Windows as a switch interface for 3rd party software. In this article, we explain how tecla-e can be used with Communicator 5 from Tobii Dynavox to control your Windows device.
Recent Windows computers should be compatible with tecla-e (it requires Bluetooth 4, also known as Bluetooth Low-Energy, BLE) but some Tobii Dynavox devices may not have built-in BLE connectivity. For those devices you can get a BLE adapter like these:
https://plugable.com/products/usb-bt4le/
https://www.insigniaproducts.com/pdp/NS-PCY5BMA2/4884001
First Step: Tecla-e and Communication / Computer Control software
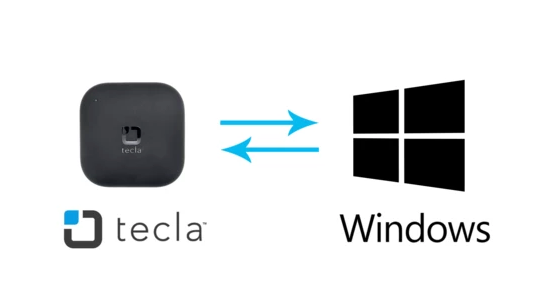
Tecla-e set-up with Windows
To set-it up you first need to pair tecla-e to the computer. To do this, follow these steps:
- Open the Windows Menu
- Go to Settings (gear icon)
- In Windows Settings click on Devices
- Turn on Bluetooth if it’s not on, at this time you can turn on your tecla-e device too
- Click on Add Bluetooth or other device, select Bluetooth
- Put the tecla-e device in pairing mode by pressing and holding the on/off switch to the gear position, the indicator light will change to orange when it is in pairing mode it should then appear on the list of available devices
- Click on the tecla-e device, it will indicate when it is ready and it’ll appear as Connected under Other devices
- You have successfully paired your tecla-e device.
If you experience issues when pairing make sure the Bluetooth on your computer is up to date. Once your tecla-e is paired you can use it to control your computer.
Step 2: Connect Communicator 5
One of the main features of Communicator 5 is the ability to create and customize the panels for your particular use case. In this example, we are using some of the standard panels.
With Communicator 5 installed and tecla-e connected to the computer, start the program. Then follow these steps:
- Create a user (if you didn’t have one)
- Select Switch Scanning for input method
- If you already had used it, then go to Settings> Input Method and select Switch Scanning
- You can also set you Scan Rate by clicking on Select Scan Rate
- Go back to the home page, do right click and select Advanced Settings
- Click on Input Method, Switch Scanning will be selected, click on Switch Scanning Settings
- Make sure “Use keyboard as a switch” is the selected option
- Set your keys, F1 for Port A, F2 for Port B, F10 for the built-in switch (tecla-e send the function keys F1-F10)
- Go to Scanning Settings
- In Customize Scan tab you can change the timing, number of scanning cycles and switch acceptance
- In Scan Method tab you can select customize the scanning method between auto scan, step scan and other options and the scanning style (row/column, column/row, linear)
- After you can select how do you want to control the mouse with your switches, click on “Switch-Based Mouse Emulation”
- You can select Crosshair, Radar or Arrows as options to control the mouse and you can set the speeds
Leave a comment: